
In this tutorial you’ll learn to design a sign-in form, inspired by the aesthetic lessons from Google’s Material Design. We’ll cover some good practices to increase your form completion rates and methods for staying consistent in your designs. To start, download the Archive.zip. Install the Roboto fonts and open the start file.sketch.
Let’s begin by creating our art-board. To do this press A then choose the iPhone Portrait 640x1136px preset. Let’s name it login.
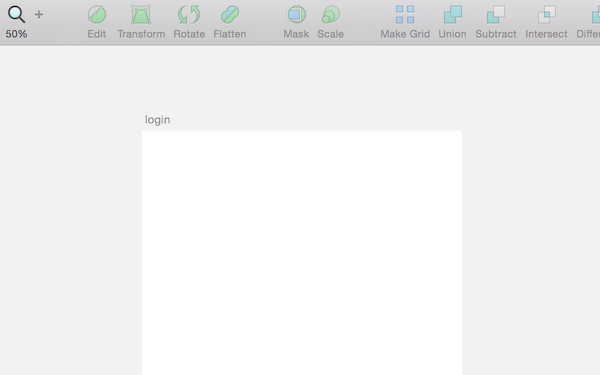
1. The Header
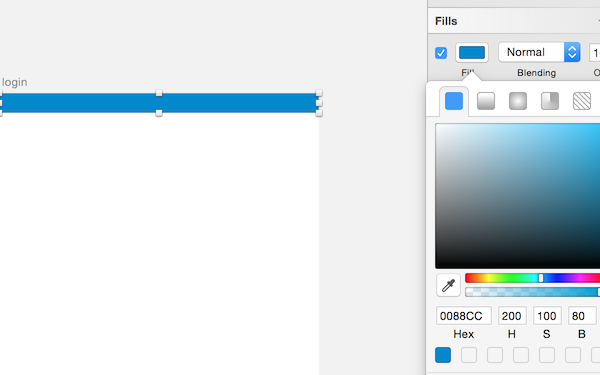
Next, we have to design the header. Our header contain the iPhone status bar and a navigation bar. First, for the status bar, draw a rectangle using R, name it status bar, then apply these properties:
X : 0
Y : 0
Width : 640
Height : 40
Uncheck the borders, and fill the rectangle with the color you want. You might choose to go with the main color of your brand or application–I choose this blue:
H : 200, S : 100, B : 80
Let’s do the same for the navigation bar. Press R, draw your rectangle, name it navigation bar then use these properties to position and scale it:
X : 0
Y : 40
Width : 640
Height : 96
Finally fill it with the same color you chose before :
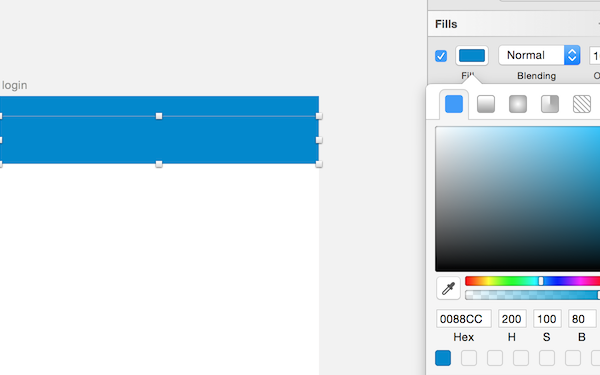
Note: We’re designing with retina displays in mind here. For that reason our nav bar is 96px high: twice the height of the actual intended height of 48px. 48px is three times the font-size height that I have chosen to use (16px) allowing me to center my icons and stay consistent with the content at the same time.
Back Button
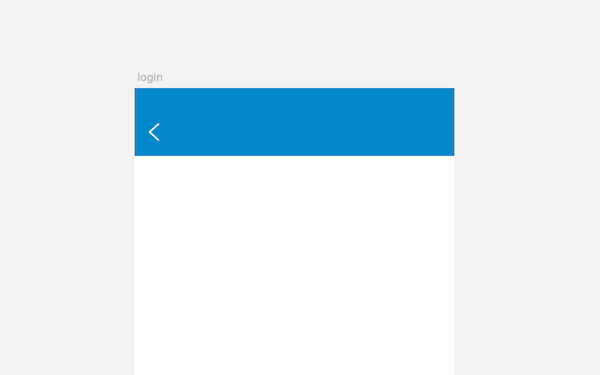
We have almost completed the header. Now we have to add the title of the page and the back button.
Let’s start with the back button. Go to Insert > Symbols > back icon then apply these properties:
X : 30
Y : 72
Width : 18
Height : 32
You should end up with something like this:
To be sure that the back icon is vertically centred you can select the icon and the navigation bar then click on the Align Vertically icon (top right in the illustration below):

You can use this functionality to position any layer relative to another. Now, add the back label. Type T then write “Back”. Go to the text properties and enter:
Typeface : Roboto
Weight : Regular
Color : white
Font-size : 24
Alignment : Left
Width : auto
Line : 24
Then position on the art-board using:
X : 70
Y : 76
The Title
And finally: the title. Type T then write “Login”. Go to the text properties and enter:
Typeface : Roboto
Weight : Medium
Color : white
Font-size : 32
Alignment : Center
Width : auto
Line : 32
Then the following coordinates for positioning:
X : 280
Y : 72
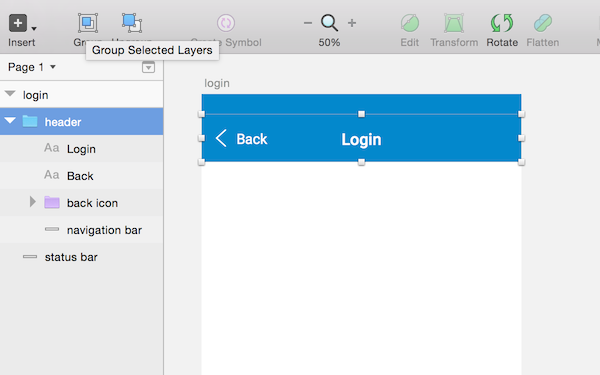
Let’s put all our layers in a folder together by selecting all the objects and clicking on the Group button. Name it “header” and you’re done!
19,585 total views, 1 views today